Pink Ivory Custom Cabinets Katy
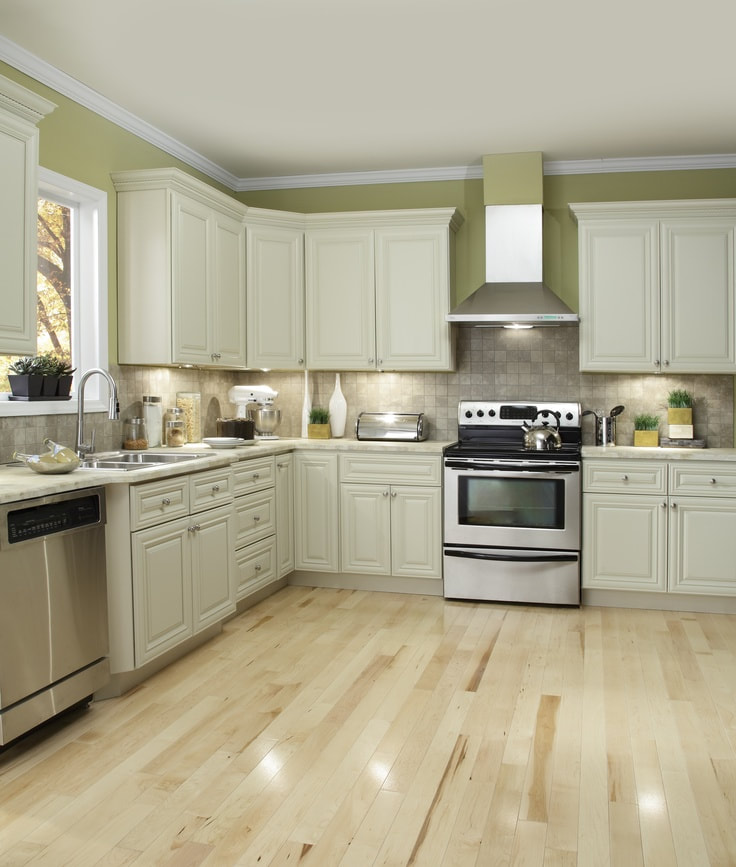
I drill my pocket holes for my custom cabinets out with equal spacing so they would look somewhat nice when the cabinets would be open especially since I wasn’t planning on filling in the holes later. After the entire amounts of the holes were drilled I did the most exciting part of the project sanding. But I only sanded the side opposite of the pocket holes. I saved both time and my sanity. I also hit the front edges as well. The next step for the cabinets was to mark out where each shelf would go. This is fairly quick work if you measure out the placement of each shelf in advance and pencil your lines on with a square outline. I use a pencil for obvious reasons. You can erase or paint over it later on. Now that all my pocket holes are drilled and the marks are grown you can start screwing the shelves to the custom cabinets. I started put by attaching all of the shelves to one side. After I had all of those attached I moved what I had already assembled flipped it to set it back down on the opposite side. Since both sides are marked the same this makes it incredibly easy to line up and assemble the custom cabinets together. Next I flip the custom cabinets on its face and added a quarter inch deep rabbet around the inside edges each side to allow it to receive the back panels. The back panels I used were some quarter-inch thick cardboard panel that I had gotten from old custom cabinets so they would be around the same size necessary to fit the rest of the scheme of things. Those are a couple of my tricks to custom cabinets. These boxes were built to match the color of the floor and had area around the top of the kitchen to hold decorative items. We also helped with the flooring to do the whole kitchen remodel to make it simpler for the customer even though we don't usually do the flooring. We do know people who do. The custom cabinets were built on spot in Katy, TX.
Mopane
Mopane