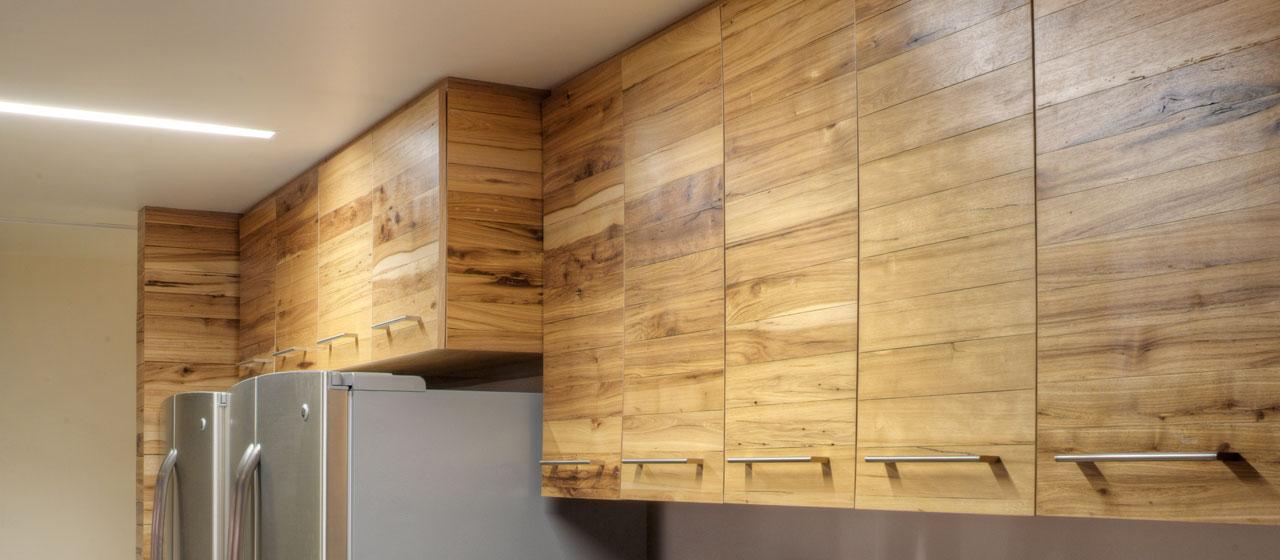
Next on the middle part or router side of my custom cabinets I am going back the starter screw from earlier and then the rest of the screws on my custom cabinets because now I know where it lines up to the rest of my custom cabinets so it makes it easier to glue the sides together perfectly to one another. Then I will later screw in the rest of them. I lay the glue down and kind of just smear the glue with my finger so it covers the surface of the curve. The makes a good seal for my custom cabinets. I always like to put a lot of glue right where the joints are going to meet especially right at the outer part of the custom cabinets because that’s my outside edge. Now that I already know that my screw is going to line up perfectly for me because I already drilled it I go ahead and drill the screw in. If I want to I can just screw threw the inside curve first and then finish it on the router side of the custom cabinets because it will line up just right. After I screw it in the glue kind of squirts out of the edge and I can just clean that up outside of the inner joints. Finally I can connect that to my custom cabinets using the same method I just described. After I screw in the curves to my custom cabinets I can sand it down to make it look and feel smooth and that completes the back of my custom cabinets. This color shad is a very modern look. The install happened in the family's vacation home. The wood is an all pure breed. This means that it wasn't engineered at all. Sometimes with custom cabinets, even if it's all wood, the wood will be re-fabricated together which is usually a cheaper way of doing it while still giving the customer all wood custom cabinets. The knobs in this kitchen were specialty pieces that were imported from Europe. The lower cabinets we did not do.
Lyptus
Lyptus
