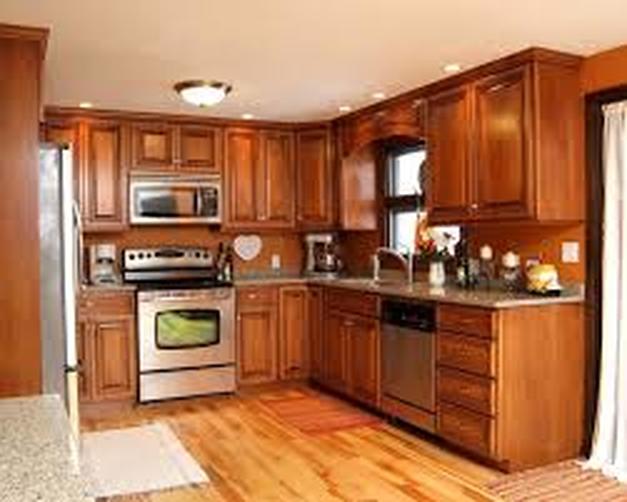
The first thing I need to do when beginning my doors to the custom cabinets go over to the router table. You need to make the beads pieces of wood and then run it through the table saw when finished. What I am doing right now is I am cutting the individual pieces of bead they have it sit inside the face frame with the rest of the custom cabinets. All a cabinet maker does is take a little trial and error but as soon as I have cut a cabinet maker will go behind me and put a little glue on them to give it that finishing seal. After that the cabinet maker will go around and take a brush and spread it around to evenly distribute the glue in a nice and smooth way. The glue is really what’s going to hold these beads in. I’m going to use one of those pin nails to basically act as clamps inside the frame here. That’s when the cabinetmaker shoots about four pin nails through the beading into the face ring. I’ve got the corners set in position. One reminder I have to go all the way around the ball twelve custom cabinets to position them correctly. Now that the cabinet maker and I have finished the face frame we can go on to other tasks such as attaching the face frame to the boxes of the custom cabinets to make it a lot more of the whole project to look at. Finishing with minor details I am going to explain the icing on the cake and that's furthering steps on the top. That's right the crown molding. The crown molding is a very important part of the custom cabinets. It brings together the boxes to create a sharp look. You want to cut each corner so that the molding doesn't show any of the inside wood that has an altered color.
Kentmoore Maple Wood Oil Saddle
Kentmoore Maple Wood Oil Saddle
