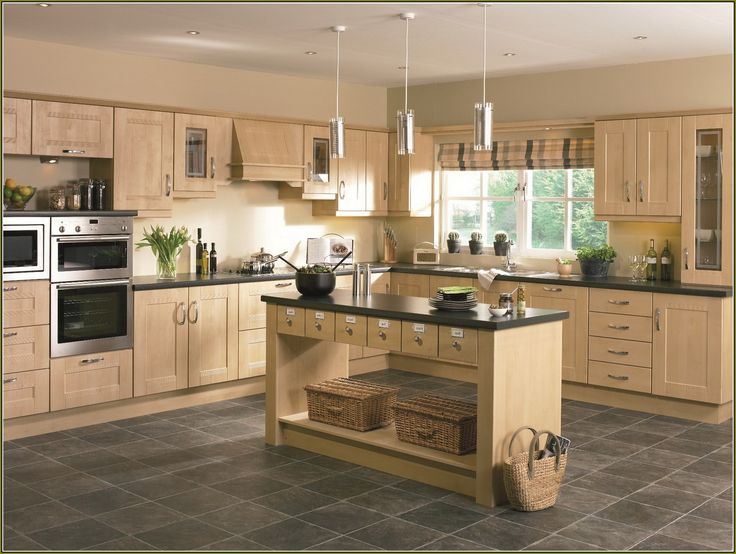
Beginning with a basic birch built kitchen custom cabinets. The advantage of constructing and assembling your own kitchen kitchen cabinets is you have to buy each subsection pre-built. Besides the fact that you save money in labor you also have the ability to reduce the amount of materials. This example the cabinet maker is going to begin with the face frame of the kitchen custom cabinets. The logic behind that is if the face frame of the kitchen custom cabinets is squared it will coincide with the rest of the custom cabinets. The experts use an architect's rule to make sure the angles of each side are exact. So I start by laying the styles on the ground to get a mental picture of what the frame will look like and I attach each shape using the pocket hole method. I make imprint with a marker on each of my styles where I will insert pocket holes to get a visual. The only exception to this would be my end styles. That give each style two pocket holes on each edge that touches another style. Next you mark each bored where you are going to cut grooves into so each style has a strait surface to sit on so it fits in like a puzzle. I make sure that each cut on the side where there is most drawers because I want it is most important to be lateral on the side the drawers are on. On the flip side I want to make sure that all of the slices are on the inside from the wall and not potentially directly going to have contact with any walls because you want room for adjustment later on. When it comes to the top rail you will need a lip as well so you connect the center blocks of your custom cabinets. It works as a batten for extra support. I repeat that step on the bottom side of the custom cabinet as well because that is where the floor is going to be flush on the top. Now I am ready to create my pocket holes. I make sure to use a pocket hole jig to make each hole even. That's part of the difference in making it a little more professional custom cabinets. I only go a 1/8 of an inch off the floor so it is best to set my stop collar accordingly. I use a jig and a clamp for this process. Then I repeat each process for all of the members that were pre-marked. Next it is time for me to cut the grooves using a router. For this I will use a tongue and a groove cutter. Tongue and groove cutter are made to perfectly match one another. That will make for them to be flush to one another. I am not changing the length of my router at all. Once I have my length set on the router, I can do the whole set at the same length because all I am doing is just changing the piece. If you place an O ring on the bottom of the bit it won't allow for any space extra. I set the height of the router so it gives an 1/8 shoulder room from the side. I personally use a fence along the side so all I have to do is press the style up against what is really like a strait edge. Next i cut my first style along my fence. As soon as I cut my first groove in the first style I immediately replace the groove with the lip just to insure that my lip and groove match up. Then I go by and cut all of my grooves and all of my lips for the frame of the custom cabinets. I leave space on each end of the style just to keep the integrity of the style. Next I will be able to assemble the frame. The edges of the frame should always be 31 inches high. I use a block the I have precut out to fit the dimensions of the drawers so that each drawer is square to make a strait custom cabinets. I mark them using the block. I mark on both sides to make it more convenient. I make sure that both sides of the rails for the drawers are lined up on both sides. Next I start the actual assembly of the frame. When I assemble the frame for my custom cabinets I start from a corner and I work diagonal. Before I start to drill the style together I glue the areas together that are by the pocket holes I made earlier to hold it in place until I drill them together. It helps hold it tightly enough so I don't make any mistakes. When I glue the ingrain style together I like to use two layers of glue because ingrain wood is very absorbent so the first layer after it dries works as a foundation for my second layer. I use a face clamp on each joining area with the flat platform area on the good side of the bored meaning the side that faces out. That works as a way to keep everything flush which is another one of those steps that makes the whole project come together very professional custom cabinets. I use 1 1/2 inch screws for my face frame. Then I continue on repeating the same steps across my assembly.
Aspen Custom Cabinets
Aspen Custom Cabinets
