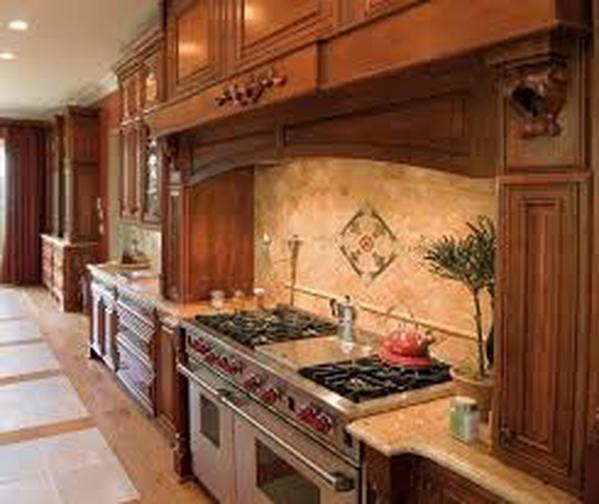
To make the process my professional I would cut the 11 ¼ cut on the bottom have of each style also so when I make the cuts for the pattern I have a flat surface to rest the style on. I prefer to do this when I am making my custom cabinets because then you aren’t dependent on not making a mistake from a shaking hand and it gives it kind of a inner design to it so it works for both reasons. When you look inside the custom cabinets you wouldn’t want to see a bored popping out unless you prefer that look but me personally I think this looks better. Back to cutting my flat surface, I want to make sure that the pattern fit in like a puzzle so I make sure there is 13/16 of an inch from the side left over so it fits in to the other cut. I might even leave a little extra on because I can always sand it down if I want to but I wouldn’t want to cut too short or I have to go through the process of making all the angles of the style again. While making each of these cuts in my styles I don’t make the whole cut all at the same time. I make a series of cuts so the cut comes out nicer. If I do not do this the cut might chip. Then I do the side that is on top of the cut I just made. This is how I turn my creation into a more artistic design. I try to spice it up when I can to elevate the level of cabinet it is. My goal is to make all of the custom cabinets to come out as smooth as possible not just for looks and because I take pride in my work but also when you're piecing everything together you don't want any of your pieces chipped because that could obstruct the angle in which your custom cabinets are put together.
Eastern Red Cedar
Eastern Red Cedar
